
Homemade rotis | how to make rotis/chapatis
Roti! This is a staple flatbread in Indian cuisine, and is served with pretty much everything - dal, curries and sabzis. I've tried so many times to make rotis, but they always ended up turning out like frisbees and were too hard. However, after many many attempts I can finally say that I make can make good rotis which are soft, puff up completely and stay soft even when cold!
What is the difference between roti / chapati / phulka ?
These terms get interchanged quite a lot, but all three are something different. Yogesh actually told me that in Northern India they are more particular about the terminology, but in Southern India the terms get interchanged quite lot. Maybe due to the fact that breads and wheat products are definitely feature more in Northern Indian cuisine, whereas in the South the staple is rice. The basic recipe for all are the same - wholewheat flour, a little salt & water.
- Rotis are round in shape and come in many varieties. They are a type of Indian flatbread and they can come in many varieties. For example, tandoori rotis (cooked in a tandoor), missi roti (made with besan/chickpea flour) ragi roti (made with finger millet flour), akki rotis (made with rice flour).
- Chapatis are a type of roti made from wholewheat flour. The term roti/chapati is interchanged the most so when someone says they'll make chapatis - then the result will most like be an Indian flatbread in a round shape. However, actually chapatis are generally triangular in shape and sometimes oil is used during the cooking.
- Phulkas are a type of roti which is then partly cooked on a flat pan (tawa) and then puffed over an open flame. Phulka in Hindi literally means "to puff"! So technically I actually make phulkas, but I still call them rotis!
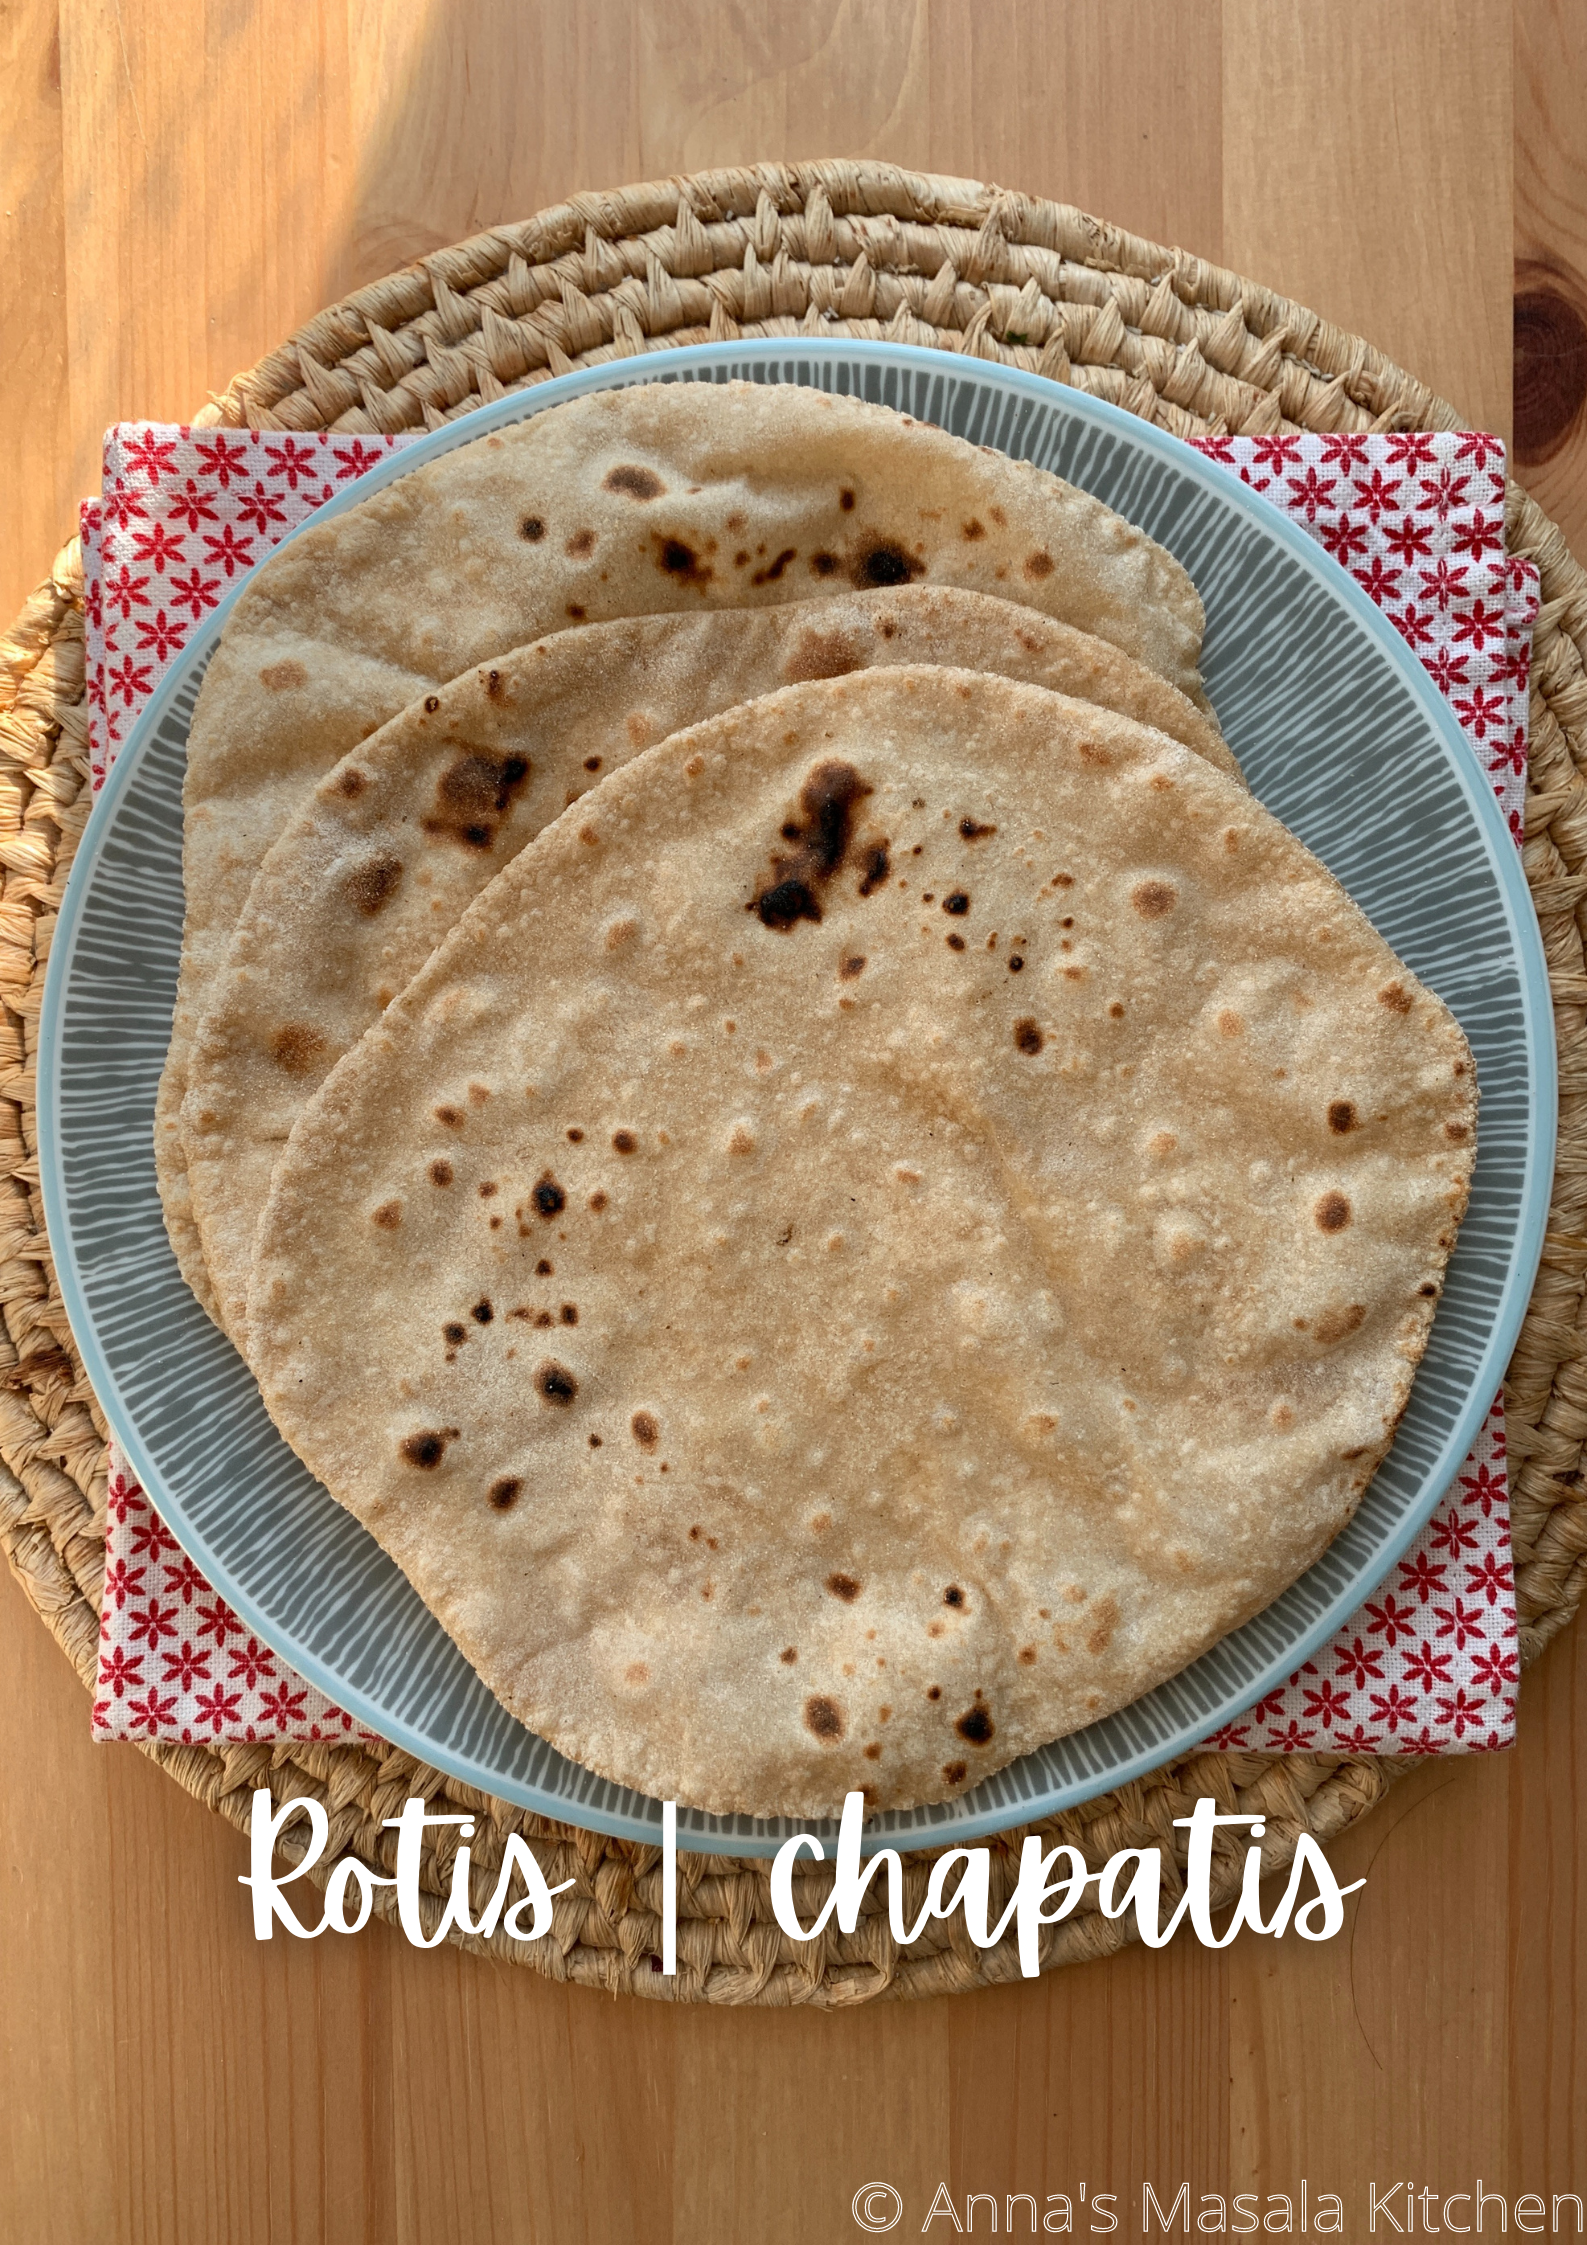
I realised that the wholewheat flour I was using from the Dutch supermarkets was different to the 'atta' that you get in India. The flour I was used beforehand was coarser and had more wholewheat flakes in it, which is also why it didn't puff up. I finally got my hands on some Indian atta and it made all the difference! If you can't find Indian wholewheat flour, try to get your hands on a wholewheat flour which itsn't too coarse and this will result in a smooth dough.
My main tips and advice
- Make sure that the dough is soft, this will make the final rotis also soft. When you put your finger in the dough, it should leave an impression.
- Knead the dough for a good 5-7 minutes - this will build up the gluten in the flour and will also help keep them soft. After kneading, let the dough rest for 30 minutes.
- Roll out the dough evenly, this will ensure that it puffs well when cooking. This does take practice, and believe me, I've made so many rotis which were uneven and then didn't puff completely. But don't worry, the final roti will still be soft if you have made a soft dough and have let it rest after kneading.
- Make sure that your non-stick pan or tawa is hot before you cook the first roti. If you put the roti on when it is cold/warm and then let it heat up with the roti on it, the roti will simply just dry out and become tough and hard. A cast iron is ideal for rotis as they retain a even medium heat.
- Do use a good quality atta (wholewheat flour). I used Aashirvaad wholewheat atta!
I hope this recipe will also allow you to create soft and delicious rotis at home. You can freeze these rotis, just place a sheet of baking paper between each roti, and then put in a freezer bag. This recipe makes 10 rotis (depending on how small you make them).
Ingredients
2 cups atta
Water, as required I used around 1 - 1 1/4 cups to make the dough
Pinch salt
1/2 tbsp vegetable oil
You will need a rolling pin, bowl, suitable surface for the rolling.
Method

Making the dough
- Take a large bowl and add the atta, salt and oil. Mix well to distribute the oil well.
- Add water, a little at a time to form a smooth dough. Knead for around 10 minutes to ensure that the dough is pliable and soft. If it feels a little tight, dip your knuckles in some water and knead again. When you put your finger in the final dough, it should leave an impression. Also, the mark of a good roti dough is when the bowl is completely clean after kneading and there is no dough left on your hands.
Rolling out the rotis
- After you've got a smooth and soft dough, grease the dough with a little oil. Cover and let the dough rest for 30 minutes. After resting, knead again briefly and then divide into 8-10 equally sized portions. The easiest way to do this is to divide the dough in half, and then divide the halves into quarters.
- To start rolling out the rotis, flatten a dough ball and then dust it with flour. This will make it easier to roll.
- Start rolling out the roti, use gentle rolls, applying a little pressure. Keep turning the dough to ensure that the final roti has a round shape. Try to ensure that your roti is rolled out evenly, it will ensure that it puffs during cooking over the open flame!
Cooking the rotis
- To cook the roti, heat up a non-stick or cast iron tawa to medium-high heat. Place the roti on the hot pan, and wait for it to puff a little.
- When you see it little bubbles appearing, using tongs flip and cook for around 20 seconds on the other side.
- Next, transfer and cook over the open flame on both sides. The easiest way to do this is to lift up your non-stick pan or tawa with one hand, and then use tongs with your other hand to cook the roti on the open flame.
- If you have rolled evenly then the entire roti will puff and you won't need to cook it on the open flame for more 10 seconds - it is that quick!
- If it doesn't puff completely, move the roti on the flame, and keep turning the roti using the tongs to ensure it doesn't get burnt. Repeat this rolling & cooking process for the remaining rotis.
- What to do if you don't cook on gas or have an induction hob? Don't worry, you can still make it puff! After steps 1 and 2 under cooking the rotis, take a slightly damp tea towel and press lightly on the roti. This should make it puff up!
- To keep the rotis soft, applying a little ghee is delicious! Enjoy with curries and use to scoop up dal and sabzis.


No comments:
Post a Comment